티스토리 뷰
✨ The Ultimate Guide to Taking Screenshots on Windows ✨
Simple techniques for capturing any part of your screen with ease!
Table of Contents
1. Full Screen Screenshot 2. One-Window Screenshot 3. Using the Snipping Tool (Windows 10 & 11) 4. Snipping Tool for Older Versions 5. Quick Shortcut for Snipping Tool 6. Xbox Game Bar for Screenshots 7. Windows Tablet Screenshots 8. Screenshot Multiple Steps with Steps Recorder1. Take a Full Screen Screenshot
The easiest way to capture everything on your screen is by pressing Windows + Print Screen. This saves an image of your entire screen to the “Screenshots” folder in your Pictures. For a copy to your clipboard, simply press the Print Screen key alone and paste it into any document or editor with Ctrl + V.

2. Capture a Single Window
To capture just one window, click on the window to bring it forward, then press Alt + Print Screen. This saves only the active window to your clipboard, which you can paste into any document with Ctrl + V.

3. Using the Snipping Tool on Windows 10 & 11
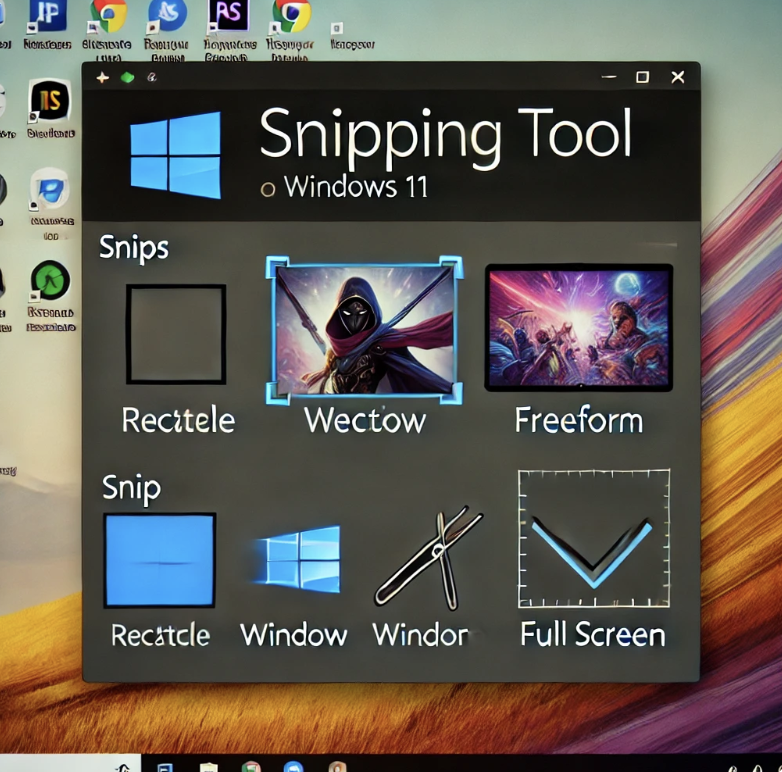
For more control, try the Snipping Tool, which lets you select areas like:
- Rectangle Snip: Draw a rectangle around what you want to capture.
- Window Snip: Capture a single window.
- Freeform Snip: Draw any shape around what you want.
- Full Screen Snip: Capture the entire screen.
Access it by pressing Windows + Shift + S.

4. Snipping Tool for Older Windows Versions
On Windows 7 and 8, you can open the Snipping Tool by searching for it in the Start Menu. Windows 8.1 offers advanced features like freeform snipping, while Windows 7 provides a more basic version.

5. Quick Snipping Tool Shortcut
For Windows 10 and 11 users, the Snipping Tool opens directly with Windows + Shift + S. This quick shortcut opens a mini Snipping Tool menu, letting you select the type of screenshot instantly.

6. Taking Screenshots with Xbox Game Bar
The Xbox Game Bar is ideal for gaming screenshots or capturing any app. Open it with Windows + G, select “Capture,” and snap your screenshot.

7. Screenshot on a Windows Tablet
On Surface devices, press Power + Volume Up simultaneously to take a screenshot. This method is quick and ideal for taking screenshots on the go.

8. Screenshot Multiple Steps Using Steps Recorder
Need to document a series of steps? Use Steps Recorder, which can record up to 100 screen changes, saving each as a screenshot. Open it by searching psr.exe in the Start Menu.

